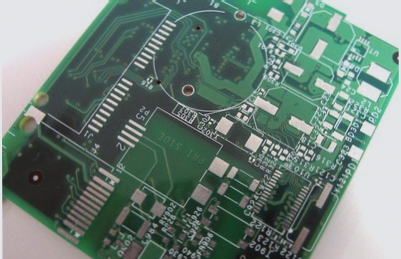
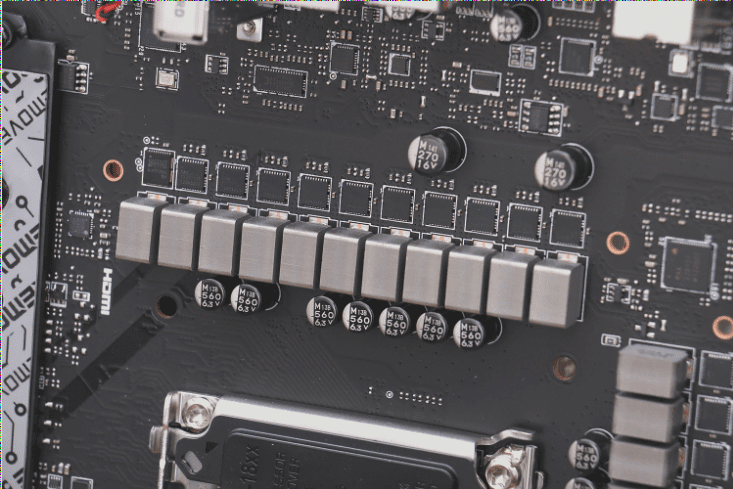
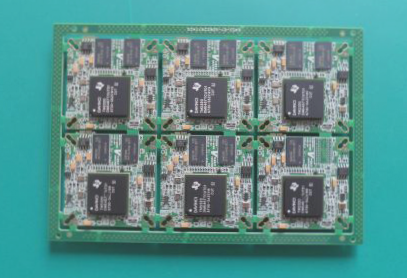
Tin Furnace: PCBA Soldering Process and Quality Control
1. PCBA Parameter Requirements:
- Flux Density: The recommended flux is 90-BY820C-ZH0 (Baoyue) with a density of 0.815 ± 0.005 g/ml, ensuring consistent application for proper wetting and defect reduction.
- Preheating Temperature:
- Single-panel boards: Preheat at 900°C for the first stage and 1000°C for the second stage.
- Double-layer and multilayer boards: Preheat at 1000°C for the first stage and 1100°C for the second stage. Preheating minimizes thermal shock and ensures even temperature distribution.
- Soldering Temperature:
- Single-sided boards: Optimal soldering temperature is 250°C.
- Double-layer and multilayer boards: Solder at 245°C to prevent overheating while ensuring quality joints.
- Soldering Time: Recommended soldering time is 2-4 seconds for proper joint formation without component damage.
2. Quality Control and Inspection Requirements:
- Testing Tools:
- Density Meter: Ensures flux density consistency.
- Process Temperature Testing Equipment: Monitors temperature profiles for compliance.
- Welding Quality Inspection: Inspect 5 boards per hour to maintain quality and prevent defects.
- Record Keeping: Track materials used for traceability and quality assurance.
Conclusion:
Adhering to the specified parameters for soldering and implementing thorough inspections can result in high-quality PCBA solder joints with minimal defects. Record-keeping ensures traceability and effective quality control for long-term reliability.
1. Frequency Check: Hourly, Control Chart Creation for Monitoring Poor Soldering
Perform hourly frequency checks and create a control chart using PPM values to monitor soldering quality, enabling real-time detection of poor soldering for timely corrective actions.
2. Self-Check for Grounding Resistance Tester
(1) Parameter Settings:
- Constant Current Output: 10A
- Output Voltage Frequency: 50Hz
- Test Duration: 5 seconds
- Analog Resistance: 0.15Ω
(2) Testing Requirements:
Conduct a self-check at the beginning of each shift and maintain records using the “Ground Resistance Tester Checklist.”
(3) Calibration Procedure (Clearance Check):
Calibrate using the 9611/13 Intelligent Automatic Ground Resistance Tester to eliminate errors in resistance measurements.
Ensure effective calibration by following the specified steps.
(4) Self-Inspection Procedure:
- Connect test leads to the analog calibration resistance (0.15Ω).
- Run the test, and the instrument should sound an alarm upon completion.
Follow the calibration process to maintain accurate resistance measurements.
Self-Check for Withstand Voltage Tester
Parameter Settings (Production Process)
- Voltage:
- Class I Equipment: AC 1500V
- Class II Equipment: AC 3500V
- Test Duration: 5 seconds
- Leakage Current:
- Class I Equipment: 0.1mA (L) to 10mA (H)
- Class II Equipment: 0.5mA (L) to 10mA (H)
Testing Requirements
Perform a self-check at the beginning of each work shift, and record results in the “Hot Pressure Tester Checklist.”
Self-Inspection Procedure
- Connect a 330KΩ/36W analog resistance to both the ground wire and high-voltage output terminal of the withstand voltage tester. Start the tester, and the instrument should alarm.
- Disconnect the ground wire and high-voltage terminal, then start the tester again. An alarm should sound.
- If no alarm occurs, all PCBs manufactured since the last inspection require rework.
Soldering Iron Temperature Check
Use a soldering iron temperature tester to monitor the temperature of the constant-temperature soldering iron. During the test, ensure there is a small amount of molten solder on the tip. If the temperature falls outside the acceptable range, adjust the temperature and wait for one minute before testing again. Calibration should be performed weekly, and records must be documented in the “Soldering Iron Inspection Record” form, which should be retained for six months.
Torque Meter Check
PCBA Inspection Method
Place the torque meter on a tightened screw, turn it in the opposite direction, and measure the torque at which the screw begins to loosen.
Detection Frequency
Operators in PCB factories must check the torque meter once a day before starting work. This ensures screws are tightened correctly, avoiding issues related to improper torque application.