Introduction
In the field of PCB board design for digital display thermometers, the accurate measurement and control of ambient and equipment temperatures are crucial in daily production processes. This necessitates the use of components like the LM35 temperature sensor and A/D converters such as the ICL7107 for temperature display on devices like LEDs or LCDs.
Designing a PCB Board for a Digital Thermometer
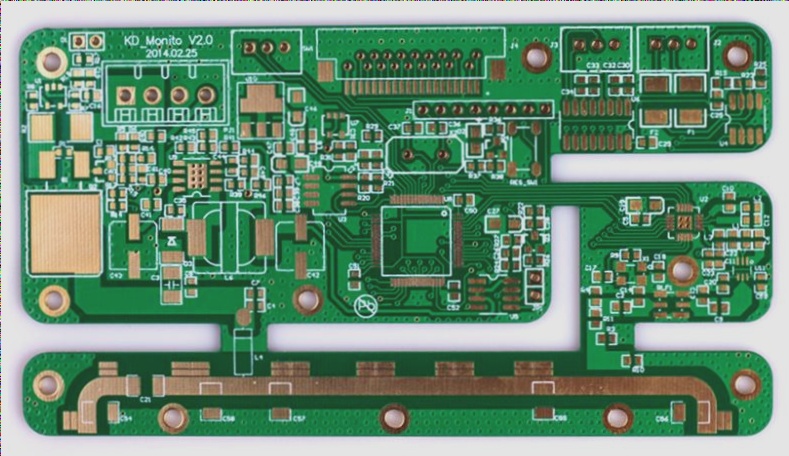
Creating a schematic diagram is the first step in designing a PCB board for a digital thermometer. It is essential to identify and ensure the availability of components, build a custom component library, and pay attention to detail in component placement and descriptions for accurate schematic connections.
When integrating complex ICs like ICL7107 and ICL7660, meticulous pin configuration is necessary to prevent errors. Transferring components from the schematic to the PCB layout, performing Electrical Rule Checking (ERC), and generating Reports/Bill of Materials are critical steps for error correction and component management.
In the PCB layout phase, defining board dimensions, integrating components, and setting routing parameters are vital for optimal performance. Design Rules Checks (DRC) post-layout help identify and rectify design flaws.
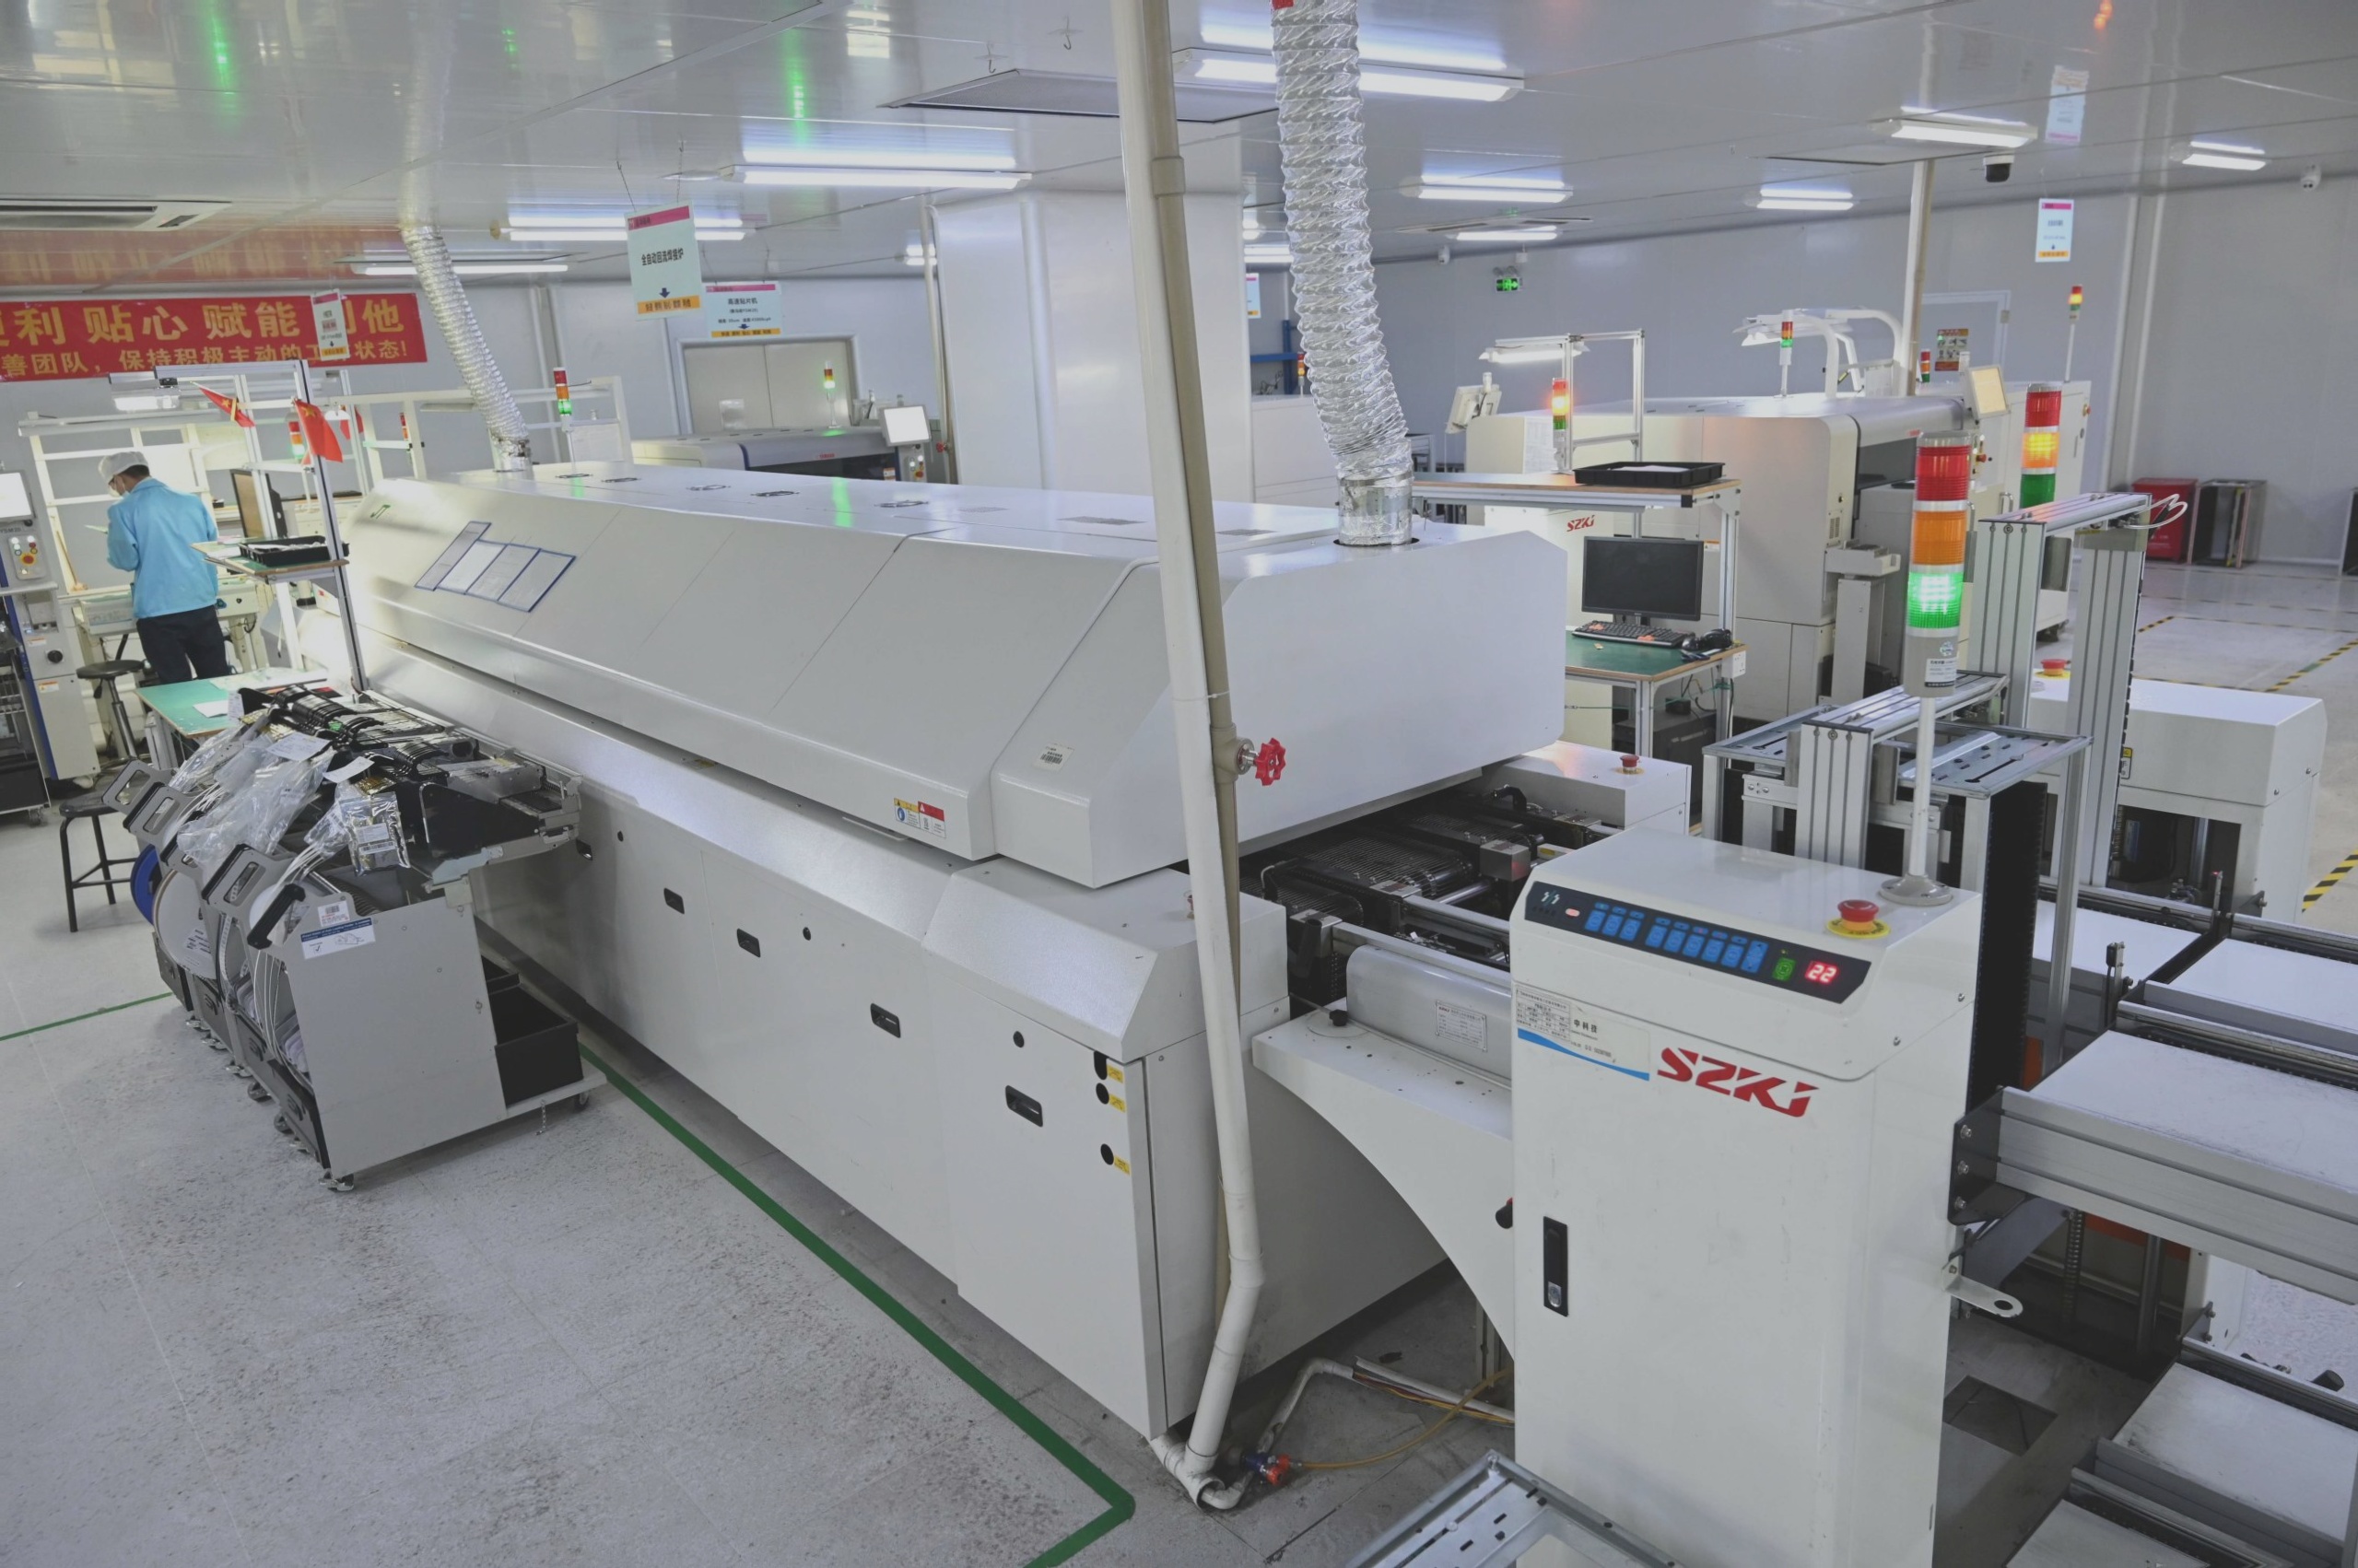
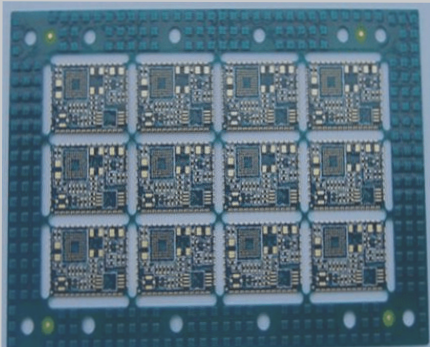
Printing and Processing PCB Board Diagrams
- Print the PCB diagram onto thermal transfer paper with clear print settings.
- Prepare the copper-clad board by cutting, smoothing, and cleaning thoroughly.
- Use a thermal transfer machine to transfer the design onto the board.
- Inspect and touch up unprinted lines before etching with ferric chloride solution.
- Rinse and dry the etched PCB board, then create component holes.
- Remove excess ink, refine the surface, and apply flux for soldering performance.
Steps for Assembling and Testing a PCB Board
- Execute initial testing by short-circuiting the TEST terminal with pin 1 to display -188.8.
- Verify display integrity by checking soldering connections.
- Isolate issues by shorting IN+ and IN- pins to ensure zero display accuracy.
- Inspect capacitors like C2 and C4 for potential faults.
- Short circuit pins 31 and 36 to validate a reading of 1000; adjust RP potentiometer if necessary.
- Confirm proper functionality by shorting pins 32 and 26 to display -1.
- Address identified faults promptly to ensure operational efficiency.
- Evaluate and rectify issues with specific components (e.g., capacitors C2, C3, C4) for consistent performance.
Summary of Experimental Findings
- Annotate critical details like Pinyin names on the BottomLayer with horizontal mirroring for clarity.
- Conduct meticulous netlist reviews to verify schematic-to-PCB coherence.
- Perform comprehensive DRC checks post-PCB fabrication to ensure adherence to design specifications.
- Maintain precision in component placement for optimal positioning and visibility.
- Validate functionality of key components through structured testing protocols.
Following these systematic procedures and checks will streamline the design, fabrication, and assembly of a digital thermometer PCB, ensuring robust performance and longevity in application.