Complete PCB Copying Process Using a Four-Layer Computer Motherboard
This guide demonstrates the step-by-step process of copying a PCB using a four-layer computer motherboard, along with essential methods and techniques.
Overview of the Motherboard:
- Features various chipsets, interfaces, and socket expansion slots
- Includes intact components for reference
Process Breakdown:
- Preliminary Preparations:
- Dismantle the Board:
- Take clear photos of the motherboard’s front and back
- Remove components using a heat gun and tweezers
- Record component details for later reference
- Disassemble Components:
- Remove resistor, capacitor, and IC in order
- Document components and their values
- Measure component values post-disassembly
- Remove Solder:
- Clean PCB surface after component removal
- Use flux and solder wick to remove excess solder
- Adjust soldering iron temperature based on PCB layers
- Surface Copy Board:
- Scan the Surface Board:
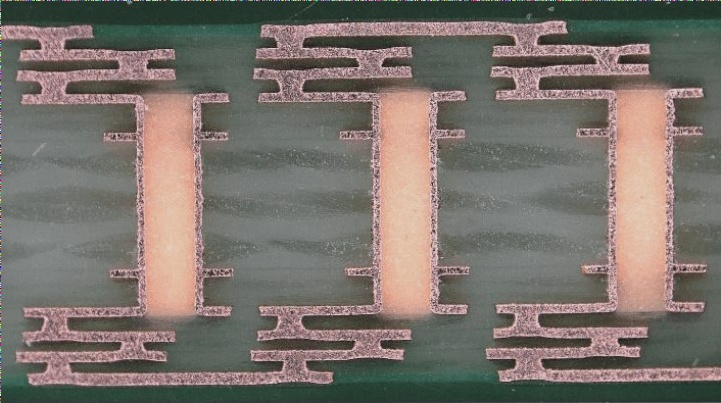
- Polish PCB surfaces to expose copper
- Scan upper and lower layers in color
- Draw the Surface Layer PCB Board:
- Adjust image contrast and brightness in PHOTOSHOP
- Save clear images in black and white BMP format
- Convert Files to PROTEL Format:
- Import BMP files into PROTEL as two layers
- Check alignment of PAD and VIA positions
- Prepare the PCB Layout:
- Convert images to PCB format with SILK layer
- Trace layers and place components on the drawing
- Final Verification:
- Combine layers into a single image in PROTEL
- Print on transparent film for alignment check