Innovative PCB Art: Transforming Circuit Boards into Decorative Masterpieces
In the world of electronic components manufacturing, printed circuit boards (PCBs) are breaking free from their traditional rectangular forms to become stunning decorative pieces. This guide demonstrates how to create unique PCB jewelry and ornaments while maintaining full functionality – perfect for international buyers seeking innovative electronic art.
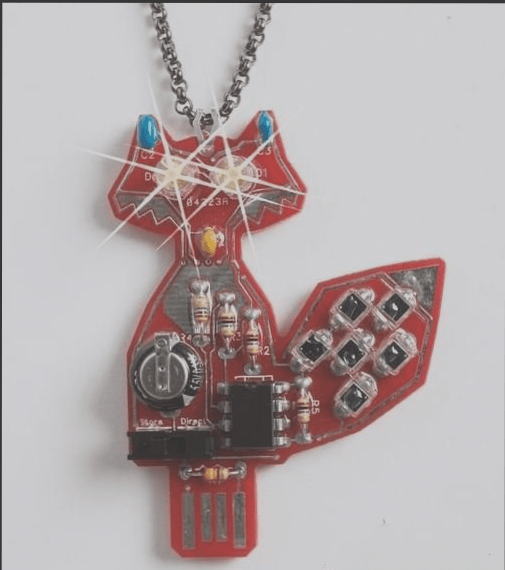
Why Choose PCB-Based Decorative Items?
As a leading PCB manufacturer in China, we’ve identified these key value propositions for global buyers:
- Dual functionality: Combines aesthetic appeal with electronic capabilities
- Customization potential: Endless shape and design possibilities
- Growing market demand: Unique tech-infused accessories trending worldwide
- Educational value: Demonstrates electronics principles in wearable form
Essential Tools for PCB Art Creation
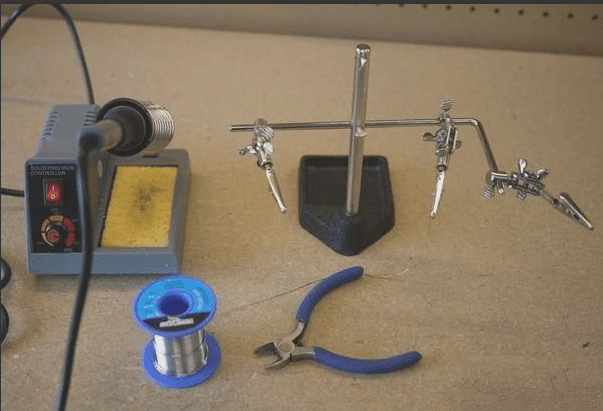
To create high-quality PCB decorative items for export, you’ll need:
- Temperature-adjustable soldering iron (ideal for precision PCB work)
- High-grade lead-free solder (meets international safety standards)
- Angled needle-nose pliers (perfect for detailed component placement)
- Multi-position helping hands tool (with alligator clips)
Component Selection Guide for Decorative PCBs
Our PCB component sourcing experts recommend these key elements for solar-powered decorative items:
Core Components List
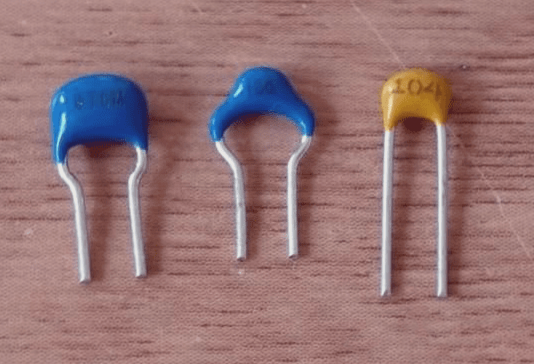
- Ceramic Capacitor (47μF) – Blue casing for visual distinction
- Chip Capacitor (10μF) – Compact blue variant
- Timing Capacitor (0.1μF) – Brown casing for easy identification
- MCP6542 Master IC – The “brain” of your decorative piece
- BPW34 Photodiodes – High-efficiency solar sensors

Step-by-Step Assembly Process
1. Capacitor Installation
When assembling decorative PCB items for export, proper capacitor placement is crucial:
“For international buyers, we recommend using color-coded capacitors to simplify assembly and reduce errors in high-volume production.”
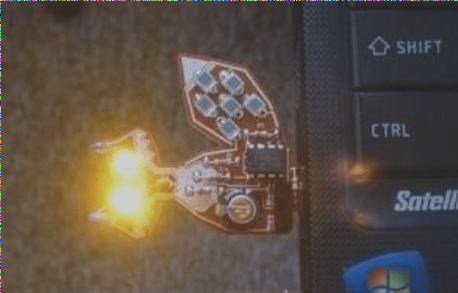
Remember these key points:
- Match capacitor values to designated positions
- Observe polarity markings carefully
- Use our PCB manufacturing color-coding system for easier assembly
2. Resistor Soldering Techniques
Our PCB production specialists recommend:
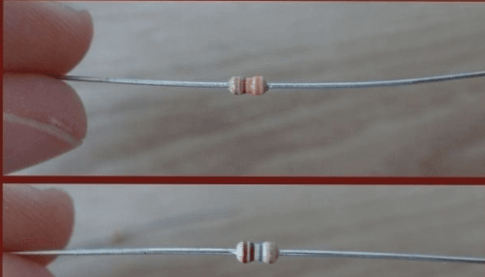
- Begin with R5 (330Ω orange-band resistor)
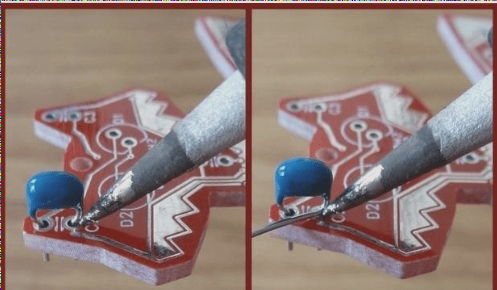
- Bend leads at 90° angles before insertion
- For wearable items, solder on the component side for comfort
3. IC Chip Handling Protocol
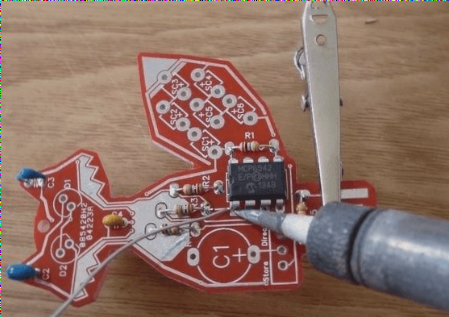
Proper ESD protection measures are essential when working with sensitive components:
- Always discharge static before handling
- Identify orientation via notch marking
- Use anti-static mats in production environments
Advanced Components for Enhanced Functionality
Supercapacitor Integration
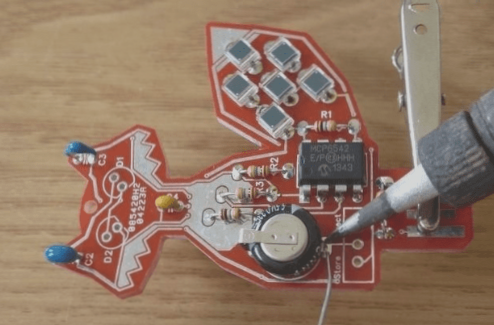
Our energy storage solutions for PCB art deliver:
- 3+ hours of continuous operation
- Clear polarity markings (- symbol on negative terminal)
- Compact footprint for wearable designs
Switch Installation Tips
For durable PCB decorative items suitable for export:
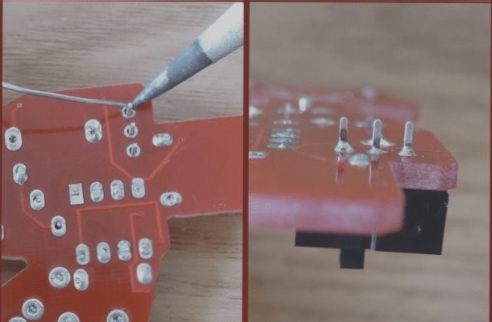
- Use heat-resistant switches for production runs
- Implement quick-connect terminals for easier assembly
- Consider waterproof options for outdoor applications
Final Assembly and Quality Control
Before shipping custom PCB decorative items to international buyers:
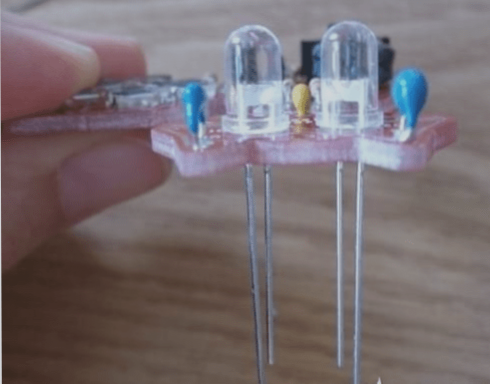
- Verify all LED polarities (long lead = positive)
- Conduct full functional testing
- Implement protective coating for durability
- Perform final visual inspection
Market Opportunities for PCB-Based Decor
As a trusted PCB supplier for international markets, we see growing demand in:
- Tech-themed jewelry collections
- Educational STEM products
- Custom corporate gifts
- Interactive art installations
Our PCB manufacturing capabilities in China allow for both small prototype runs and large-scale production, making us the ideal partner for global buyers seeking unique electronic decorative items.
